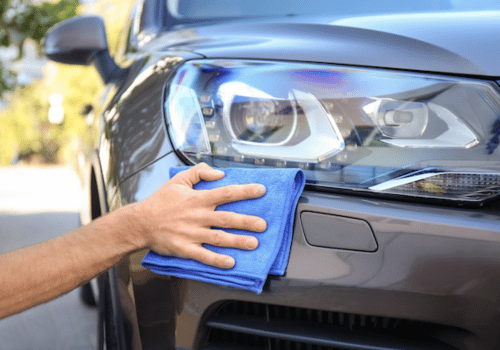
A Guide To Changing A Headlight Bulb

Changing a headlight bulb may seem like a complex task, but with the right tools and a little guidance, you can easily replace it at home. A burnt-out headlight bulb not only compromises your visibility on the road but can also result in a traffic violation (and a ticket). So, it's important to address this issue promptly and in time. If you want to make this a DIY project, you are in the right place! Here is a simple guide to how to change a headlight bulb:
Gather the necessary tools:
- New headlight bulb that matches the specifications of your vehicle
- Clean cloth or gloves to handle the bulb
- A screwdriver
- A small wrench just in case you need them
1. Identify the headlight assembly
Find the headlight assembly. Most of them are disconnected and removed from the wheel well. It is usually under the plastic cover that is in the wheel well itself, which has to be removed in order to access the headlights.
2. Remove the headlight bulb cover
If your vehicle has a bulb cover or cap over the headlight assembly, carefully remove it by twisting it counterclockwise or releasing any clips or screws that hold it in place. Be cautious not to damage the cover or any surrounding components.
3. Disconnect the electrical connector
After removing the bulb cover, you'll see an electrical connector attached to the bulb. Press the connector's release tab and gently pull it away from the bulb to disconnect it. Take note of the connector's position for reconnection later - you can mark it with a marker so you know how to put it back together.
4. Remove the old bulb
Next, locate the bulb itself. Depending on the type of headlight assembly, you may need to twist the bulb socket counterclockwise or release clips to remove the bulb. Carefully remove the old bulb from the socket, again being cautious not to touch the glass part of the bulb.
5. Install the new bulb
Take the new headlight bulb and align it with the socket. Insert it securely into the socket and give it a gentle twist or secure it with the clips, depending on the type of assembly.
6. Reconnect and test
Reconnect the electrical connector to the new bulb. Make sure it clicks into place and is firmly connected. Before reassembling everything, turn on your vehicle's headlights to verify that the new bulb is functioning correctly. If it illuminates properly, you're good to go.
7. Replace the bulb cover and secure it
If you removed a bulb cover or cap in the earlier steps, place it back in position and secure it by twisting it clockwise or reattaching any clips or screws.
Having Issues? Gordon Automotive is Here To Save The Day!
If you are having issues with the bulb change, contact us and we will be happy to take your car into the shop and sort things out!
Gordon Automotive, Inc. | Privacy Policy | Accessibility Statement
